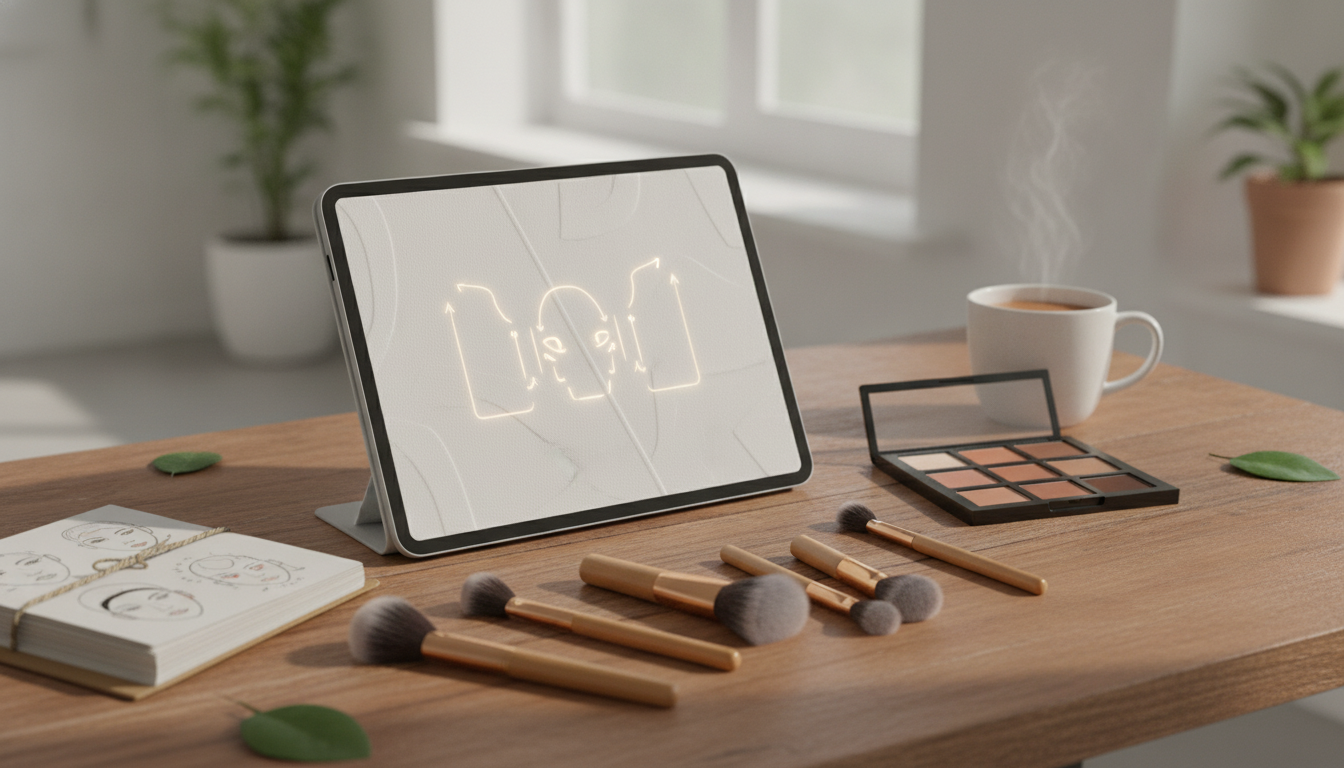
A youthful-looking contour isn’t about sharper angles—it’s about subtle lift, softened shadows, and strategic light. When placement stays higher and blending stays seamless, contour can create a fresher-looking structure without pulling features downward. Below is a beginner-friendly routine you can repeat daily, plus simple tweaks for face shapes, skin texture, and different makeup “vibes.”
Youthful contour focuses on gentle lift: higher placement, lighter depth, and edges that disappear into the skin. The center of the face stays brighter—under-eyes, mid-cheek, and around the mouth remain luminous—so the look reads lifted instead of sculpted.
What it avoids: heavy, low cheek contour that visually drags the face down, harsh stripes along the jaw, and too much powder that turns dimension into dryness. Thin layers (especially cream-to-powder) keep the finish skin-like, which is key for a “you, but refreshed” effect.
Contour looks best when the base is flexible. Start with hydrated skin—lightweight moisturizer and daytime sunscreen are the easiest upgrades for smoother makeup. If you need a quick reference for staying consistent with SPF year-round, the The Ultimate “Weather-Proof Glow” Sunscreen Checklist can help you match protection to real-life weather changes.
For complexion, choose a tinted moisturizer or thin foundation rather than a thick layer. Spot-conceal only where you truly need it (around redness or a blemish) to keep texture from looking emphasized. If you’re using powder contour, set only the T-zone first and leave the cheeks slightly tacky—this gives you more control and helps product glide instead of skipping.
For sunscreen guidance from authoritative sources, see the American Academy of Dermatology Association’s sunscreen FAQs and the FDA’s sunscreen basics.
If you’re new, cream contour (or a cream bronzer used carefully) is usually the most forgiving because it blends slowly and builds gradually. A simple tool trio works well:
Powder contour is easiest over a lightly set base, while cream performs best over unset or minimally set foundation. Also, contour and bronzer don’t have to be the same product: contour should mimic a shadow (often neutral-to-cool), while bronzer adds warmth.
| Skin undertone | Most natural contour tone | What to avoid |
|---|---|---|
| Cool/pink | Soft taupe or cool brown | Orange-leaning bronzers |
| Neutral | Neutral beige-brown or muted brown | Very red-brown shades |
| Warm/golden | Neutral-warm brown (not too orange) | Yellow-heavy powders that look flat |
| Olive | Muted brown with a hint of gray/green neutrality | Strongly peach/orange tones |
Think “up and out.” The most common reason contour looks aging is that it’s placed too low or pulled too far inward.
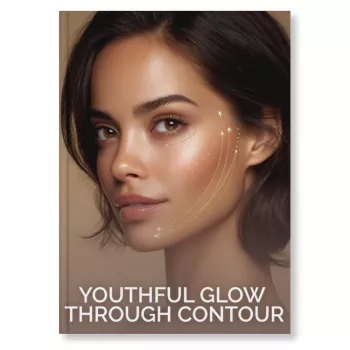
If you want a follow-along format you can repeat without guesswork, the Youthful Glow Through Contour | Digital Guide for Beginners lays out placement and intensity in a simple sequence.
Apply a thin base layer and lightly conceal. Skip baking and avoid a thick powder layer under the eyes—keeping this area flexible helps the center of the face stay bright.
| Goal | Where to place contour | Where to keep brightness |
|---|---|---|
| Lift cheeks | High under cheekbone, blended up | Upper cheek, under-eye area |
| Slim jaw subtly | Under jawline, blended upward | Chin center (small), lower cheek |
| Shorten forehead | Along hairline/temples (soft) | Center forehead (light) |
| Refine nose | Thin lines close to bridge, blended | Bridge center (matte or satin) |
If you want a repeatable routine rather than a one-off full glam look, the Youthful Glow Through Contour | Digital Guide for Beginners is designed to make placement feel straightforward. For an even smoother canvas long-term, consider pairing consistent sunscreen habits with a structured skincare approach like How to Add Actives into Your Skincare Routine.
Contour looks most natural when it mimics a real shadow, which is usually neutral-to-cool (taupe or muted brown). Warm shades act more like bronzer, so they’re better layered slightly above contour rather than replacing it.
Stop around mid-cheek (roughly under the outer iris) and keep your blending angled up toward the temple. Avoid extending contour toward the corner of the mouth, which can pull the face downward visually.
Cream contour is usually easier to blend and build gradually, especially on normal-to-dry skin. Powder can be simpler on oily skin if you lightly set the base first—the key is a soft shade and well-diffused edges.








Leave a comment