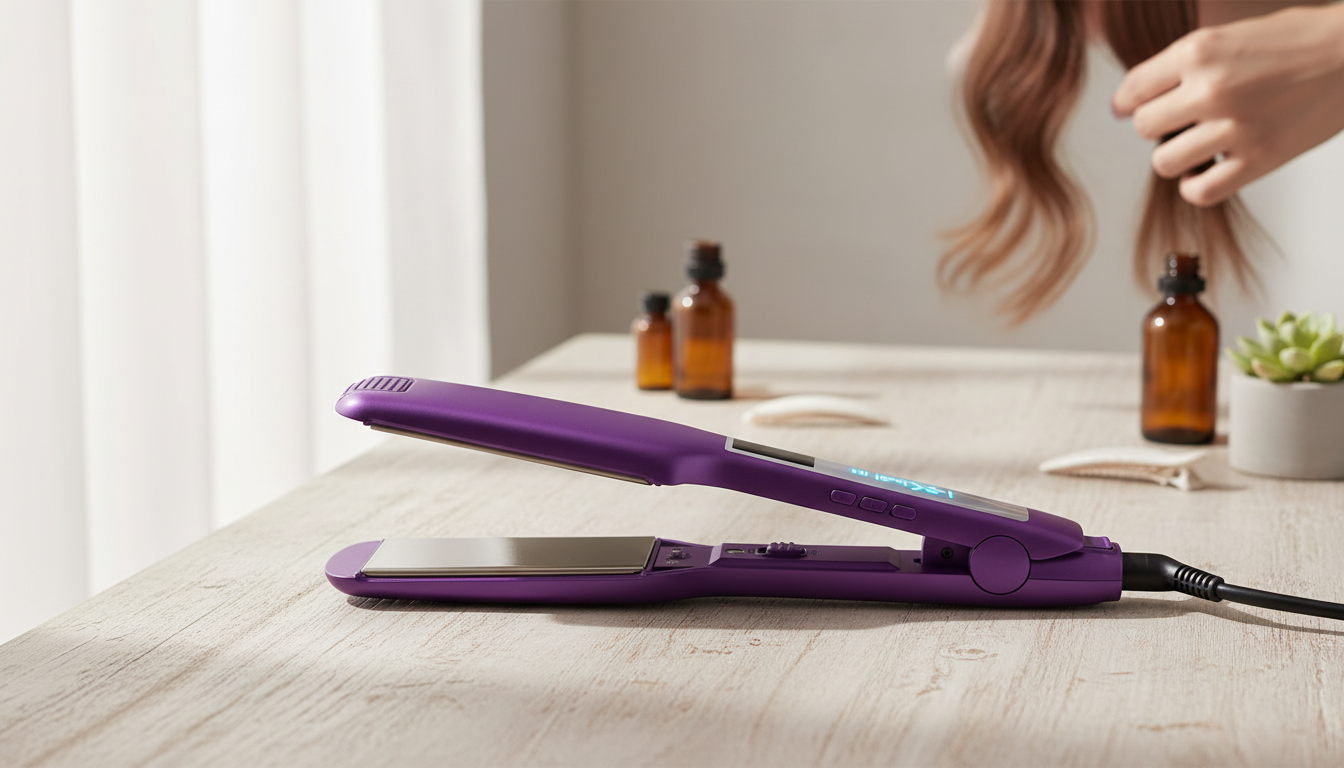
Getting smooth, polished hair doesn’t have to mean endless re-passes or guessing at the right heat. A titanium flat iron is built for fast heat-up and efficient heat transfer, while an LCD temperature display helps you choose a setting that fits your hair type and goals. Below is a practical guide to what titanium plates do best, why visible temperature matters, and simple techniques for sleek straight styles or soft waves with less snagging and better consistency.
Titanium plates are known for quick, even heat transfer—one reason many people reach for them when they want faster styling and a glossy finish. With the right temperature and section size, that efficiency can help reduce repeated passes, which is often where unnecessary wear-and-tear sneaks in.
Because the plate surface is typically very smooth, titanium tools can glide well, especially on coarse, thick, or very curly hair when you use steady tension and a heat protectant. The trade-off is that titanium tools often reach higher heat, so matching temperature to your hair’s condition matters. When technique is consistent (fully dry hair, controlled pass speed, clean plates), titanium can be a strong choice for quick smoothing and frizz control—particularly in humidity-prone climates.
An LCD temperature display removes the “dial guesswork.” Seeing the exact number makes it easier to stay within a safer range for fine, color-treated, or fragile hair. It also helps you avoid accidentally leaving the iron at a high setting after one styling session and then overdoing it on the next.
Clear temperature visibility supports repeatable results: you can keep one setting for sleek straight hair, then drop the heat slightly when you want bends or waves that still have movement. That consistency is useful when your hair changes across seasons or after services like color, highlighting, or keratin treatments.
Use these ranges as starting points, then adjust gradually. Aim for smoothness in one slow pass per section, increasing heat only if you truly need it. Always apply a heat protectant and straighten only when hair is completely dry. If you notice a “hot” smell, visible steam, or roughness after one pass, lower the temperature and reduce pass count.
| Hair type/condition | Start range | Technique notes |
|---|---|---|
| Fine, fragile, or heavily bleached | 250–300°F (120–150°C) | Use smaller sections; slow, steady glide; avoid multiple passes |
| Color-treated or mildly damaged | 300–340°F (150–170°C) | One controlled pass; chase with a comb only if needed |
| Normal/medium density | 340–375°F (170–190°C) | Moderate section size; maintain even tension |
| Thick, coarse, or very curly | 375–410°F (190–210°C) | Work in narrow sections; prioritize fewer passes over higher heat |
Instant heat makes styling feel simpler because you’re not waiting around for the plates to get to temperature—especially helpful for morning routines and quick touch-ups. It can also reduce the temptation to crank the setting too high “just to make it work faster.” When your tool reaches your chosen temperature quickly, it’s easier to stick with the lowest effective heat.
That said, speed doesn’t replace prep. The best results still come down to fully drying the hair, using a protectant, working in controlled sections, and keeping your pass slow and steady.
Start with gentle towel-drying (no aggressive rubbing). Blow-dry fully from roots to ends—straightening damp hair is a fast track to sizzling and breakage. Apply a heat protectant evenly, then detangle thoroughly so the plates glide without catching.
Divide hair into 4–6 zones. Begin at the nape and work upward. Use 0.5–1 inch sections; going wider often forces extra passes, while going slightly narrower can help you get a smooth finish without increasing heat.
For additional guidance, see the American Academy of Dermatology Association tips on preventing hair damage and the Consumer Product Safety Commission’s electrical safety guidance.
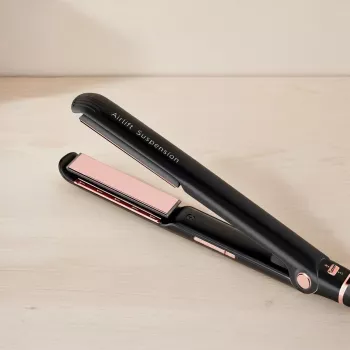
If you want fast smoothing with clearer temperature control, the Professional Titanium Hair Straightener with LCD & Instant Heat is built around the features that make day-to-day styling easier: titanium plates for quick glide and smoothing, an LCD readout for precise temperature selection, and instant heat to minimize downtime and make touch-ups more realistic.
Once hair is set, outfit details can do the heavy lifting. For quick styling decisions that match a sleek blowout or straightened look, try The Ultimate Checklist for Choosing Shoes That Complete Your Look.
Titanium typically heats faster and transfers heat efficiently, which can be especially helpful for thick, coarse, or very curly hair. Ceramic is often more forgiving for fine or fragile hair, so the best choice depends on your hair type and using the lowest effective temperature.
Start lower for fine, bleached, or damaged hair (about 250–340°F) and higher for thick or coarse hair (about 375–410°F), increasing only if needed. Aim for one slow, controlled pass on fully dry hair with heat protectant.
Use a heat protectant, keep the temperature as low as possible, and reduce the number of passes by working in smaller sections. Fully dry hair first, clean your plates regularly, and balance heat styling with conditioning treatments and occasional heat-free days.









Leave a comment